 | |||
| I have just added a downloadable pattern to my website: www.brigittegiblinquilts.com This workbox is for sewing on the move... it will contain all your sewing tools in a handy non-slip box when you are travelling in a car or plane. |
Saturday, January 12, 2013
Sewing Workbox pattern
Monday, October 1, 2012
Introducing the "i-Purse"!!
 |
| I have been making "i-Purses"! so, if you too are a lover of patchwork, lovely fabrics AND have an iPad, you might like to make a quilted purse to keep it safe. This new pattern is downloadable from my website: www.brigittegiblinquilts.com and you can order the rectangular frame from there as well. |

I used a light weight upholstery fabric on the back of the suffolk-puff (yo-yo) version and did some simple quilting.
 |
| Suffolk-puffs or yo-yo's add a bit of whimsy.... I think the "i-Purse" will be a coveted gift this Christmas! I didn't add a strap, as I don't think its needed. www.brigittegiblinquilts.com |
Thursday, September 6, 2012
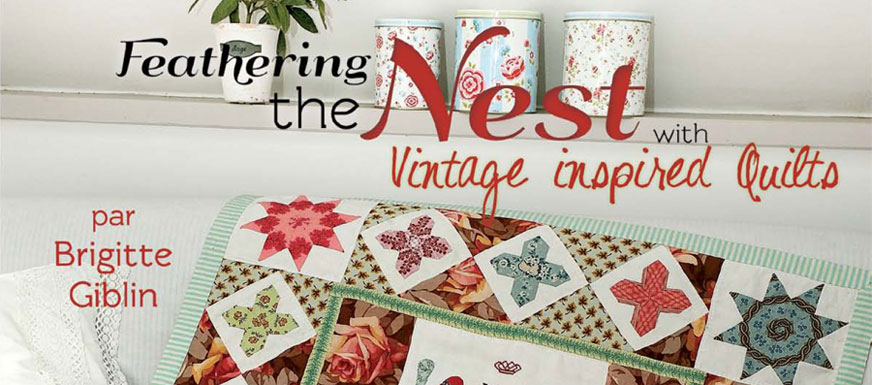
FEATHERING THE NEST with Vintage Inspired Quilts
My book is available from:
www.gloriouscolor.com or www.paperpieces.com if you live in North America,
www.brigittegiblinquilts.com if you live in Australia, or
www.quiltmania.com if you live anywhere else.
If you are lucky enough to be going to Ste.Marie-aux-Mines in Alsace, France for the European quilt show next week (13-16 September) visit Quiltmania on booth 165 for a copy of my book...
You can also see 14 quilts from the book which will be on display there.
You can also see 14 quilts from the book which will be on display there.
Sunday, September 2, 2012
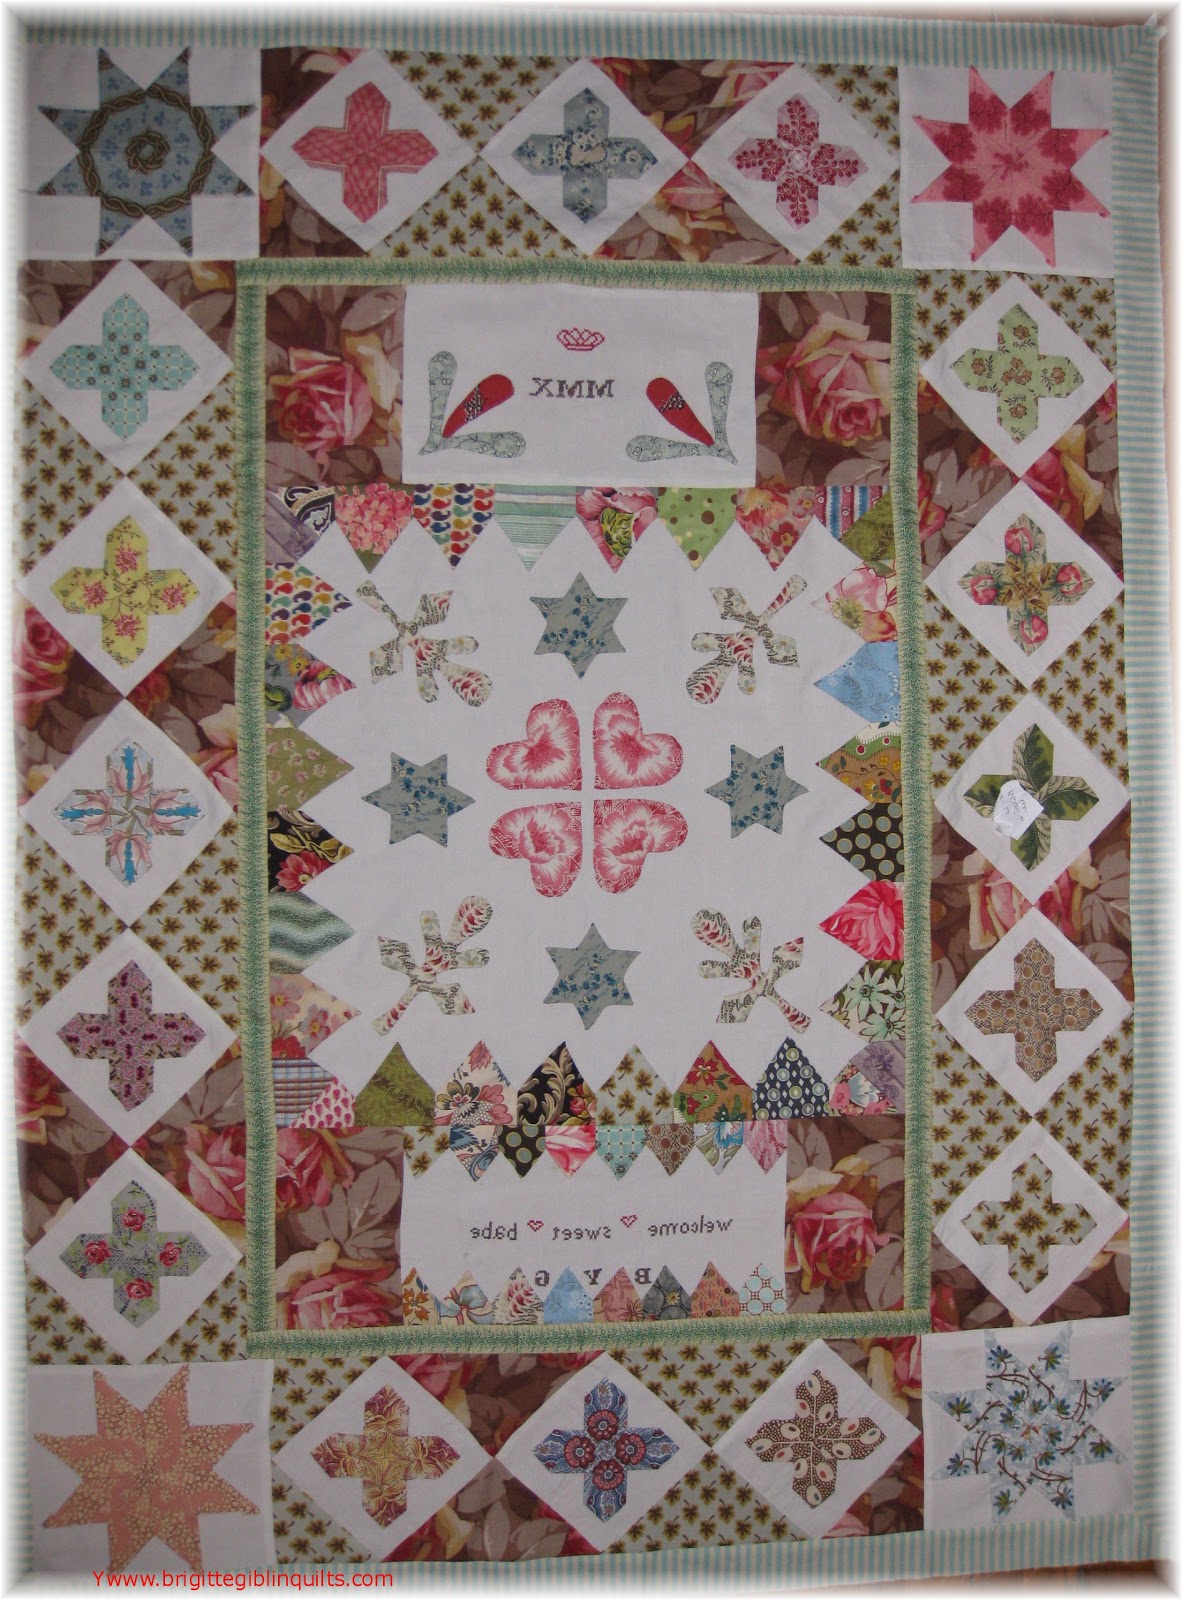
Hexagon and Blue Star Quilt
If you are making this quilt, please use these important 'straight-grain' instructions. The book instructions are not clear and should be corrected in the reprint - another instruction that was 'lost in translation!
 |
| The pattern pieces in the book are correct - just add 1/4" seam allowance. It is important to make a template for the triangle including seam allowance, with the top of the triangle cut off and the straight grain marked. |
 |
| Cut your triangles from strips and stack them. You will then be able to quickly see that the straight grain is opposite the cut-off tip. |
 |
| The hexagons can also be cut from strips, using a plastic template and then stacked so that the straight grain is on the top and bottom of the hexagons. See the photos for correct placement of the straight grain so that your completed units and assembled strips keep the straight grain on the long sides. |

Monday, August 13, 2012
13-Panel Hexagon Quilt
 |
| In the book this quilt is simply called "Panel Hexagon Quilt". I thought I'd show you some close-ups of the fussy-cutting in the blocks. Its the perfect quilt to use up large print fabrics - the panels fit diagonally across a fat quarter. Another fat quarter can be used for the hexagon frame. Leftovers from the 26 fat quarters are then used in the "fill-in" hexagons on the edges of the quilt. |
 |
| Depending on the clarity of your screen, you should be able to see the join across the top of this panel (just below the 2 flowers). So the new rule could be: "don't ever not use a fabric because you have to join it...the whole thing is joined...its 'patch'work!". I love seeing little pieces that are joined together to make a whole patch in old quilts....it's good economy! |
 |
| In the centre of this quilt is a fabric from "Les Indiennes" showing the tower "La Tour de Constance" in my village of Aigues-Mortes. Its the only toile-style print (ie-a scene) in the quilt, so as the odd one out, sits happily in the middle. All the other prints are floral. See how the hexagons are fussy-cut. There are 16 cut with the stripe "on point", and the 6 - on the ends and sides - cut with the stripe "on square". This may be taking fussy-cutting to the extreme, but it does look like the pink stripes are radiating from the centre of the panel... |

Here is another block where the hexagon motif has been fussy-cut, on point and on square.
For some reason these photos have all loaded on their sides - sorry (does anyone know how to fix this once you are in blogger? they were the right side-up before uploading)
Friday, August 10, 2012
Tessellations II
 |
| I've noticed that a few of you have started making Tessellations II (I've been peeking at blogs!!), so I thought you might like to see some close-ups of this quilt - and the detail in the fussy-cutting |
 |
| Helen emailed me to say that there was some confusion in the instructions - my reply to her was that this is a very simple quilt... 4 shapes: a hexagon; a square, a diamond and a triangle, all with 2 1/2 inch sides. Start in the centre and add your shapes one round at a time, auditioning fabrics and colours as you go. Don't get too far ahead, as you may change your mind. I changed from cool tones to warm tones with each round to give maximum contrast and to make each round "pop". (The pink and yellow fabrics being the warm tones, and the blue and green fabrics being the cool tones. The white with black spot acts as a neutral to separate the colours) |
 |
| The book shows the addition of each round of fabrics and the direction for fussy-cutting in the coloured step-by-step instructions. When I teach this quilt in a class, students only have a black/white graph of the quilt with heavier lines to mark the "rounds" where the colours change from cool to warm. Have fun with fussy-cutting this one! |
Monday, July 30, 2012
Grand Sac a Hexagones or Large Hexagon Purse
 |
| This pattern has been added to the products on my website for you to make. Its a good size for a workbag to hold all your patches and sewing tools. I will also make the metal frame and small pack of 1" hexagons available on my website soon. Meantime, start sorting your fabric scraps...B |
Subscribe to:
Posts (Atom)